Why Removing Dip Nails Feels Like a Challenge
Dip powder manicures are gorgeous – durable, bright, and chip-resistant, much like fresh nail polish. Yet, taking them off can feel like a headache: peeling, filing, smudging, so much potential damage to your natural nails. At Pink of Tampa, we hear it every day: “I just want to remove dip nails without messing up my nail bed or crying over the sink.” Here’s your step‑by‑step guide to do just that.
What Makes Dip Powder Hard to Remove
Dip powder nails form a tough, solid layer. Acrylic and gel can often be soaked off, but dip powder resists acetone unless broken through properly with a nail file. Its gummy consistency, layered with clear top coats, makes removing dip powder nails a delicate process, one that’s easier done by pros.
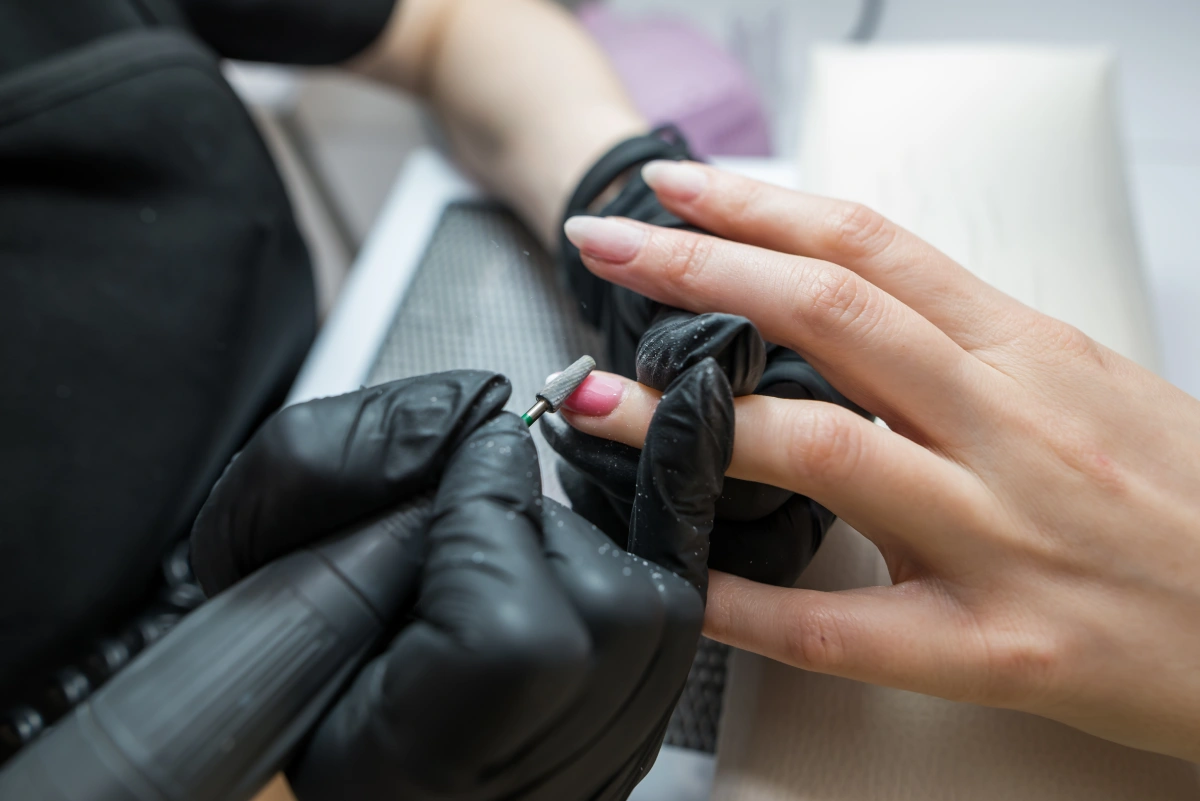
Step 1: File Down the Top Layer
Start by removing the glitter top coat and clear coat, and then smooth the surface with a nail buffer. File gently with a fine file until you can see the powder or color underneath. Grab the edge first, but don’t pull it off.
Step 2: Soak Cotton Balls in Pure Acetone
Next, soak cotton balls in pure acetone (not regular polish remover). Place each piece over a nail, then wrap the nail in an aluminum foil wrap to hold it in place. The doll‑house wraps create mini hot tubs for each nail, speeding up the effective dissolving of the product.
Step 3: Let It Sit, Don’t Rush
Let them soak your nails and soften for at least 15 minutes. While you wait, have a warm towel ready and a bowl of hot water nearby, void using an acetone sink – this is spa time for your fingers. Don’t tug yet; let the acetone do its job, softening the powder.
Step 4: Gently Push with an Orange Stick
After soaking, gently separate the peeling layers with an orangewood stick or cuticle pusher to ensure you remove any remaining product. Do not apply force, but simply press so as to separate the softened layers.
Step 5: Repeat Soak If Needed
If stubborn polish remains, reapply acetone‑soaked cotton and wrap again. Repeat one more time only if needed. Never scrape deeply; you’re preserving your nail plate, not just getting rid of polish.
Step 6: Buff for Smoothness
Once the polish is removed, buff your nails to remove any white dust and even out the surface. This will help your next manicure look smooth and last longer, then seal it with a shiny top coat.
Step 7: Wash and Hydrate
Wash your hands gently with warm water and mild soap. Pat dry with a paper towel, then apply cuticle oil or olive oil to breathe life back into dry nails. Think of it as a mini salon moisturizer; your nails will glow.
Why Avoid DIY Ripping or Peeling
Snapping off the dip isn’t just painful; it can peel layers of the natural nail off like sunburned skin. Filing improperly can gouge your nail plate. That’s why professional removal is essential to avoid damaging your nails and prevent regret by keeping your nails healthy.
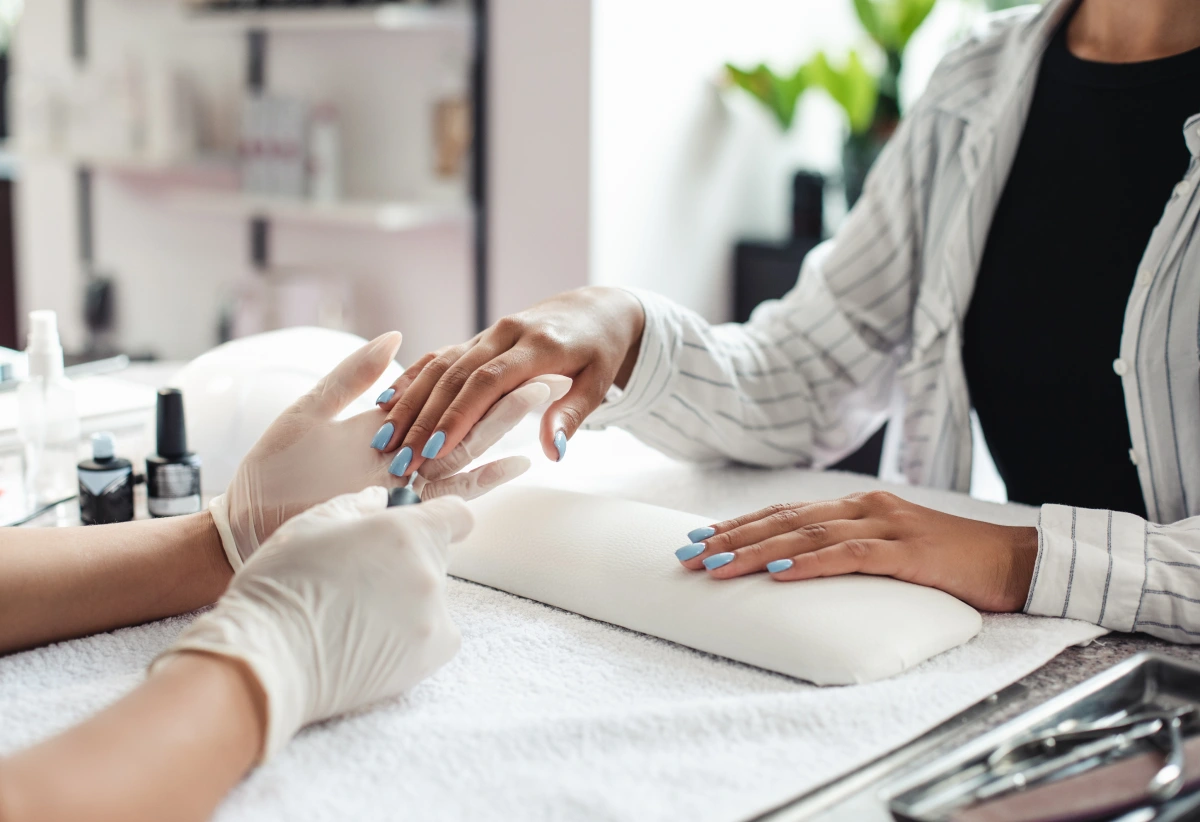
When Your Nail Artist Steps In
At Pink of Tampa, our nail artists customize the removal process based on your nail thickness, time since your last fill, and overall nail health. They combine filing, soaking with nail polish remover, and gentle pushing for the best way to remove dip that’s efficient and safe.
Aftercare for Nail Recovery
Reapply cuticle oil daily for a week, avoid digging or using your nails as tools, and let them breathe for a full 48 hours to improve their overall health before your next manicure. It’s like giving your skin a mini vacation from makeup, your nails come back stronger and shinier.
Tips to Make Future Removals Easier
Ask your nail tech to add a thin top coat when applying the dip, especially if it was applied thick, to make removal faster next time. Also, schedule a fill every 3 weeks to reduce buildup and make the subsequent removal less drastic.
Why Pink of Tampa Is Your Dip Removal HQ
We mix expertise, calm atmosphere, and precise technique. Our skilled nail techs have removed thousands of dip manis while effectively dissolving them without pain or peeling. Plus, we offer flexible scheduling to book when it fits your life, and leave with healthy, smooth nails like after gel manicures.
Final Thought: Accidents Don’t Happen, Planning Does
Removing dip nails doesn’t have to hurt or ruin your manicure progress. With the right tools and techniques, you can step out pain‑free, with your nails intact and healthy. Trust the process, and trust Pink of Tampa to guide you.