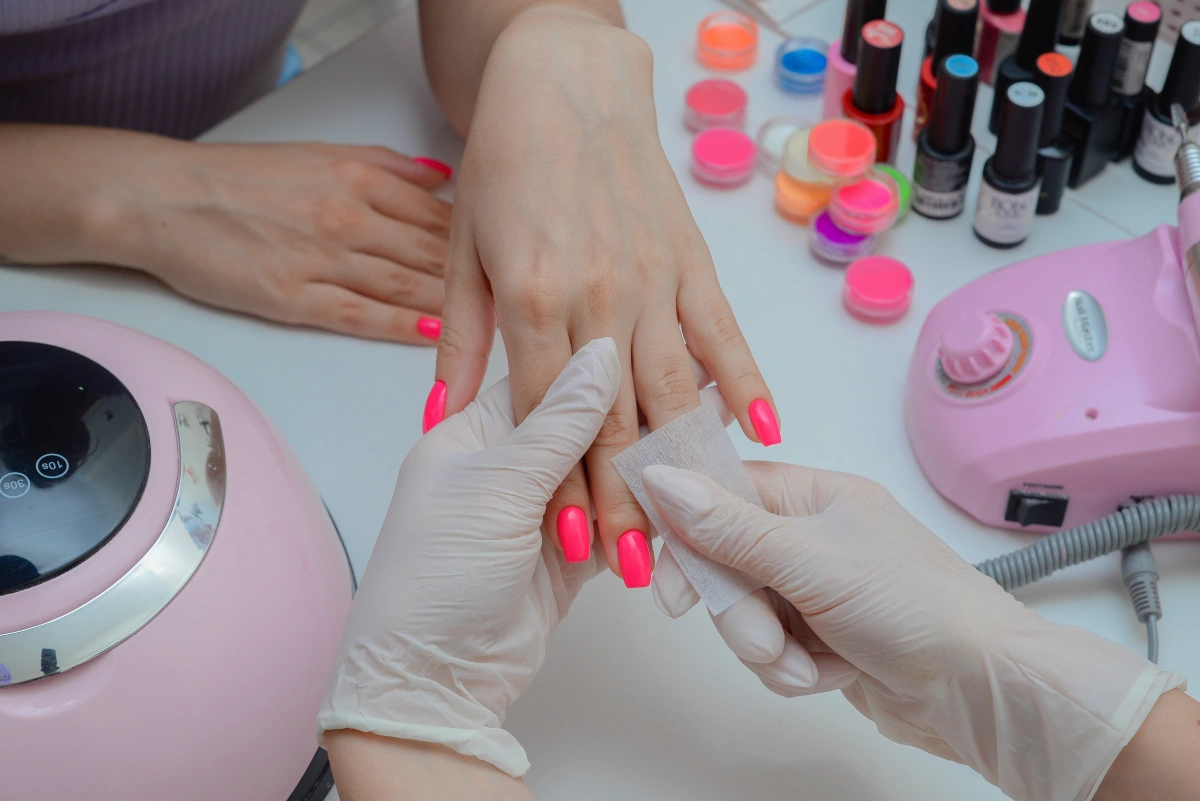
Removing hard gel nails can feel scary; no one wants brittle nails or redness. Our nail techs are trained in safe removal techniques to ensure the best results. At Pink of Tampa, our expert nail techs know how to gently remove hard gel nails using professional brands of hard gel and removal products in a way that keeps your natural nails strong and healthy. The process is specifically designed to avoid damaging your natural nails.
Why Proper Removal Matters
Hard gel locks onto your nail plate tightly. Peeling it off yourself can strip your top layer and weaken your nails. Gently removing gel lets your natural nails stay smooth, without cracks or peeling. If you use improper removal techniques, your nails may need time to recover their strength and health.
Step 1: Clip and Gently File the Top Coat
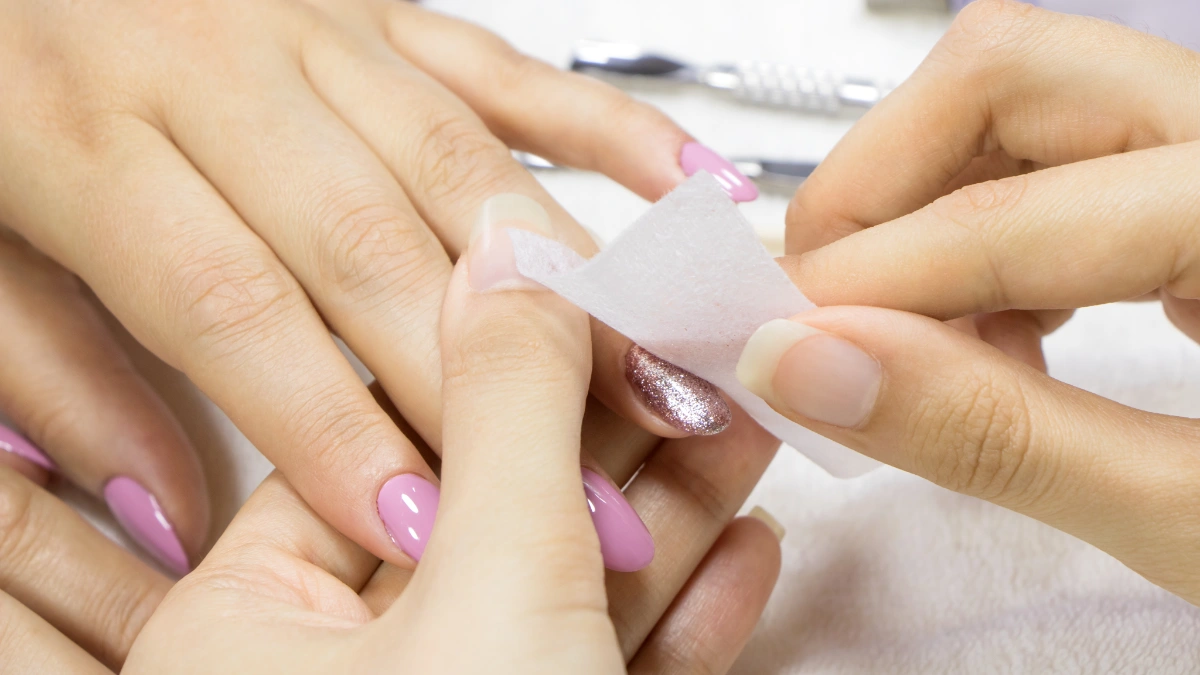
Our techs start by trimming any long edges. Some hard gel top coats are so hard-wearing that you may need to carefully grind or file them down to break the seal before removal. Then, using a nail file, they focus on filing or filling off the shine of the top coat. This step is essential, especially for hardwearing gels, as it helps break the gel seal and allows acetone to work more effectively. Think of it like peeling the glossy layer from a fruit without cutting into the flesh underneath.
Step 2: Apply Acetone-Soaked Cotton and Wrap
They then soak cotton balls in acetone, trying to cover the surface of the nail with cotton wool. They then wrap each finger in aluminum foil to keep the acetone in contact with the gel. This creates a mini spa wrap that helps lift the gel without pulling or scraping.
Step 3: Let It Soak
After about 15 minutes, the gel softens and bubbles. Some gel removal formulas or tools can make the soaking process faster, reducing the time needed for the gel to soften. If it isn’t sliding off easily, we leave it for a few extra minutes. No tugging or scraping, just soft gel sliding off with a gentle tap from a cuticle pusher.
Step 4: Gently Push and Buff
Using an orange stick, our techs softly push away loosened gel. They might buff the surface to smooth any leftover bits, but they stop when even a tiny bit resists. This protects your nail bed.
Step 5: Soak, Push, Repeat
If gel sticks, we soak again with fresh acetone-soaked cotton. We repeat only as needed, never more. Each soak gives pigment a chance to release without damaging your nail layers.
Step 6: Rinse and Moisturize
After removal, we rinse your nails, wipe off residue, and apply cuticle oil. Then we wipe again to remove excess oil. This leaves nails hydrated and your cuticles nourished.
Why Not to DIY
Removing gel at home using force or cheap tools can cause brittle nails. Using an electric nail drill is not recommended for beginners, as improper use can damage the nail plate and lead to sensitivity or weakness. Our salon process protects your cuticles and nail plate. Plus, our techs tailor each step to your nail’s health and thickness. In the case of particularly thick or difficult-to-remove gel, professional removal is especially recommended.
Top Tips from Tampa Nail Pros
Never peel off gel yourself, always soak gently
Use pure acetone, not nail polish remover
Apply cuticle oil after each soak
Go slow, especially if the gel is thick or near the cuticle
Tampa nail pros suggest using gentle techniques and patience to protect your nails
It’s a good idea to wait between gel applications to allow your nails to rest
Book removal at the salon to ensure proper care
Aftercare for Healthy Nails
Keep nails dry for a few hours
Apply cuticle oil twice daily for a week
Wait 48 hours before another gel manicure
Use a nail buffer to smooth the surface before the next set
If your nails have been damaged, it can take up to a month for them to fully recover their strength.
When to See a Pro
If your nails feel thin or brittle after removal, book a repair or strengthening manicure. A strengthening manicure may include the use of a primer and a nourishing base to help restore nail health. We know how to rebuild your nail health after hard gel.
What About You?
At Pink of Tampa, our expert nail techs know how to gently remove hard gel nails using professional brands of hard gel and removal products in a way that keeps your natural nails strong and healthy. The process is specifically designed to avoid damaging your natural nails.